|
<< Click to Display Table of Contents >> Activating or Upgrading Your Laguna Installation |
  
|
|
<< Click to Display Table of Contents >> Activating or Upgrading Your Laguna Installation |
|
After installing Laguna, click on the Laguna icon that is created on the desktop.

This will bring up the activation dialog.
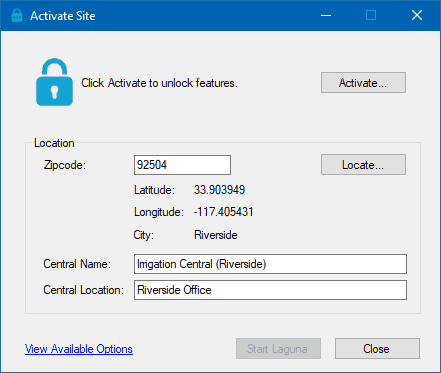
Before selecting the Activate button, enter the zip code for your location closest to where the Central PC will be located. This information is required to locate the center position of the map - you can change this later if you want.
Pressing the Locate button will populate the lat/long for the zip code and provide a default name and location for Central. You can edit the name and location to anything you want that describes your setup.
Pressing the Activate button will request the activation key.
•In order to use Laguna, a one-time activation key is required to be entered.
•Note the Registration Id that is unique to your PC or server. Each activation key is tied to a Windows PC so an unlock code will need to be obtained from Rain Master for each install.
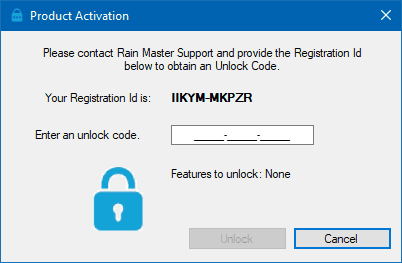
•Depending on the activation code you enter, it will determine whether Laguna operates in basic mode or full unrestricted mode.
Basic Mode |
•Maximum of 12 controllers and 1 weather station. •AIM and Advanced ET are included •ZipET |
Full Mode |
•All features in Laguna are available including ZipET, AIM and Advanced ET. |
•Enter the code provided by Rain Master and click the Unlock button
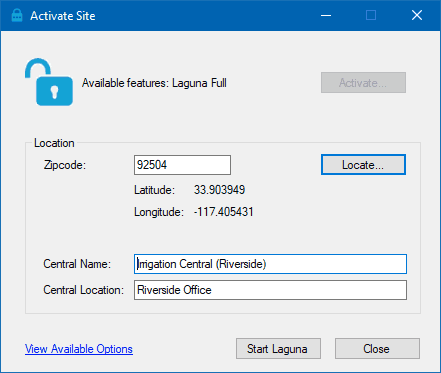
•Start Laguna
See Also